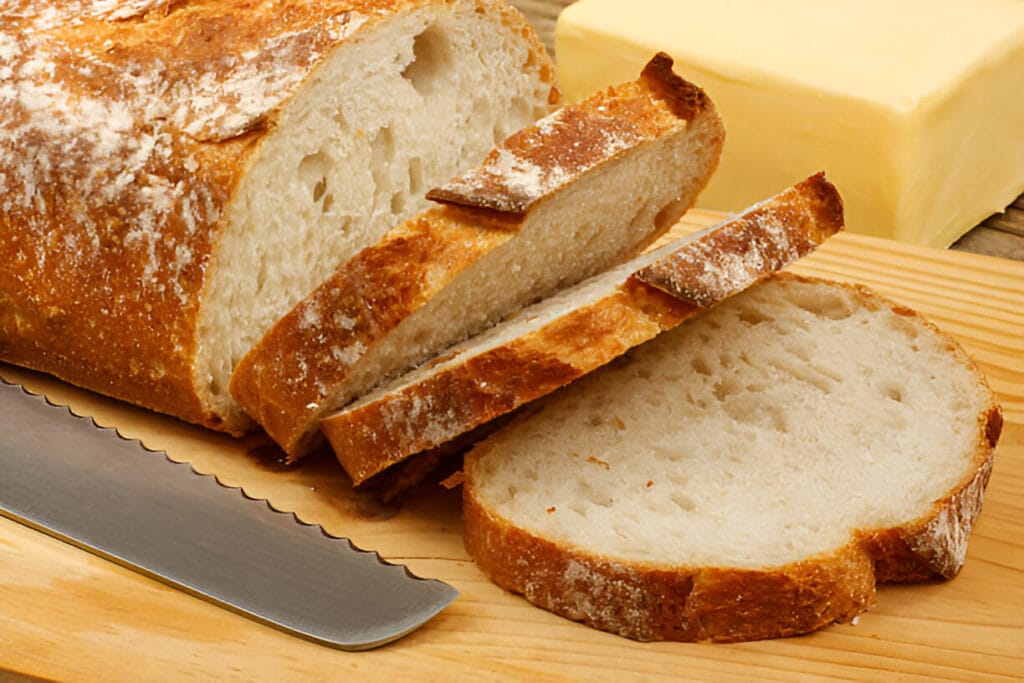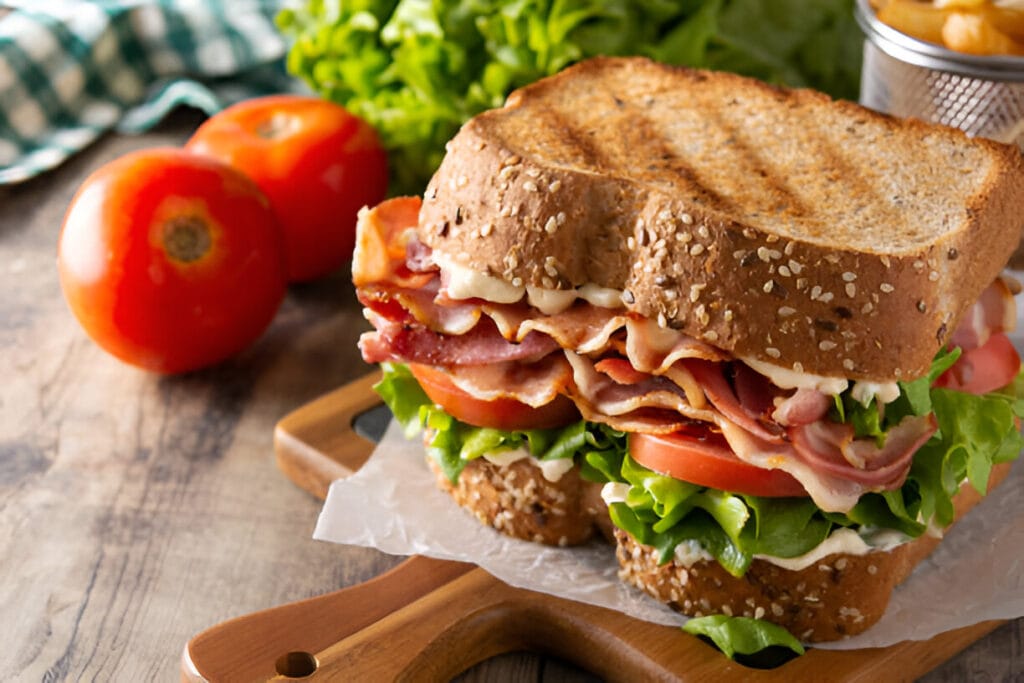
There’s something special about a homemade loaf of bread, especially when it’s a soft, fluffy sandwich bread. The warm, yeasty aroma wafting through the kitchen is enough to make anyone crave a slice. And let’s be honest: store-bought bread just doesn’t compare when you’ve mastered a homemade loaf. Whether you’re using it for your morning toast, hearty sandwiches, or even a base for your favorite grilled cheese, nothing beats the simplicity and satisfaction of homemade sandwich bread. This recipe will guide you through each step to create the perfect loaf.
Why You’ll Love This Sandwich Bread
This recipe isn’t just any bread recipe—it’s specifically designed to make one perfect loaf. No more figuring out how to store or use multiple loaves. This recipe gives you the ideal quantity for a single, versatile, everyday sandwich bread.
But why stop at the basics? Once you’ve mastered this loaf, you can experiment with variations—think herb-infused doughs, adding a touch of honey for sweetness, or even incorporating seeds for added texture. The versatility here is just one reason to keep coming back to this simple sandwich bread recipe.
What Makes This Sandwich Bread Special?
So, what sets this bread apart? For starters, it’s incredibly simple. With just a few staple ingredients, you can create a loaf that’s soft on the inside, perfectly golden on the outside, and sturdy enough to hold your sandwich fillings without falling apart.
Even if you’ve never baked bread before, this is a recipe you can confidently tackle. It’s forgiving, straightforward, and requires no fancy equipment. All you need is some basic kitchen tools, a bit of time, and a love for freshly baked bread.
Whether you’re a seasoned baker or someone just beginning to dip their toes into bread-making, this sandwich bread recipe is your gateway to success.
Breaking Down the Sandwich Bread Process
Before we dive into the full recipe, let’s walk through a quick overview of the steps involved in making this delightful bread.
- Activate the Yeast: This is a critical first step. Dissolve your yeast in warm water with a pinch of sugar. It’s a simple process, but essential for achieving that light, airy bread texture. If the yeast doesn’t bubble, you may need to start over with fresh yeast.
- Mixing the Dough: After the yeast is activated, you’ll combine it with the remaining ingredients—flour, salt, a bit of sugar for sweetness, and milk or water to bind everything together. A stand mixer makes this process easier, but you can also do it by hand with some elbow grease.
- Kneading: Kneading is where the magic happens. By stretching and folding the dough, you’re developing the gluten structure that will give your bread its wonderful texture. Aim for a smooth, elastic dough that bounces back when you press it gently.
- First Rise: Let the dough rest in a warm spot until it doubles in size. This could take about an hour, depending on the warmth of your kitchen. The rising process is what helps create those soft, fluffy air pockets inside the bread.
- Shape the Dough: Once the dough has risen, punch it down to release excess air, then shape it into a loaf. Place it in a greased bread pan, cover, and let it rise a second time.
- Bake: Finally, bake your loaf until it’s golden brown and sounds hollow when tapped. The aroma will be irresistible, but try to let it cool before slicing—it’ll be easier to slice and hold its shape.
Ingredients for Sandwich Bread
You might be surprised to know that you probably already have all the ingredients for this bread in your kitchen. It’s nothing fancy, but the results are spectacular.
- Flour: You’ll need all-purpose flour or bread flour. Bread flour has a higher protein content, which gives the bread a chewier texture. However, if all you have is all-purpose flour, that works perfectly fine too.
- Yeast: Active dry yeast is what gets this bread rising. Make sure your yeast is fresh for the best results.
- Milk or Water: Milk adds a touch of richness and makes the bread softer, but water can be used if you want a lighter loaf. You can also experiment with different types of milk like almond or oat milk for variations.
- Salt: Just a pinch to enhance flavor and control the yeast’s growth.
- Sugar: This not only feeds the yeast but also adds a subtle sweetness that balances out the savory flavors.
- Butter or Oil: A little fat goes a long way in making the bread tender and moist.
Uses for Homemade Sandwich Bread
Once your bread is baked and cooled, the possibilities are endless. The beauty of sandwich bread lies in its versatility.
- Classic Sandwiches: Whether it’s peanut butter and jelly, ham and cheese, or a fresh tomato and basil creation, this bread holds up beautifully.
- Toast: Morning toast slathered with butter or jam is a delight. For a savory twist, top it with avocado, poached eggs, or a drizzle of olive oil and herbs.
- Grilled Cheese: There’s nothing quite like a gooey grilled cheese sandwich, especially when the bread is homemade. Try experimenting with different cheeses or even adding in extras like caramelized onions or tomatoes.
- French Toast: Day-old sandwich bread makes for the perfect French toast. Soak thick slices in an egg mixture and fry them up for a decadent breakfast treat.
- Breadcrumbs or Croutons: If your loaf starts to go stale, don’t toss it! Turn it into breadcrumbs or cut it into cubes for homemade croutons to top your salads or soups.
Tips for Perfecting Your Bread
While this bread recipe is beginner-friendly, here are a few tips to ensure the best results every time.
- Watch the Dough: Dough can be sensitive to its environment. If your kitchen is cool, it may take longer for the dough to rise. Try placing it near a warm oven or covering it with a damp towel to help it along.
- Don’t Overproof: While you want your dough to rise properly, be careful not to let it sit too long. Overproofing can lead to a loaf that deflates after baking.
- Check for Doneness: To ensure your bread is fully cooked, tap the bottom of the loaf—it should sound hollow. If you’re unsure, you can use a thermometer; the internal temperature should reach about 190°F (88°C).
More Easy Bread Recipes to Try
Once you’ve mastered this sandwich bread, you might want to explore other simple bread recipes. Here are a few to get you started:
- No-Knead Artisan Bread: Perfect for a rustic, crusty loaf with minimal effort.
- Homemade Dinner Rolls: Soft, fluffy rolls that are ideal for any dinner table.
- Quick Flatbread: An easy and fast bread option that doesn’t require yeast.
Sandwich Bread Recipe
Description:

A soft and fluffy loaf, perfect for sandwiches, toast, or French toast. This easy recipe yields one loaf of classic homemade sandwich bread.
Ingredients:
- 3 cups all-purpose or bread flour
- 1 packet (2 ¼ tsp) active dry yeast
- 1 ¼ cups warm milk (or water)
- 1 tablespoon sugar
- 1 teaspoon salt
- 2 tablespoons butter (or oil)
Instructions:
- In a bowl, dissolve yeast and sugar in warm milk. Let sit for 5-10 minutes until bubbly.
- In a large bowl, mix flour and salt. Add yeast mixture and melted butter. Stir to form a dough.
- Knead dough on a floured surface for 8-10 minutes, until smooth and elastic.
- Place dough in a greased bowl, cover, and let rise until doubled, about 1 hour.
- Punch down dough and shape into a loaf. Place in a greased loaf pan and let rise again for 30 minutes.
- Preheat oven to 350°F (175°C). Bake for 30-35 minutes, until golden brown.
- Cool completely before slicing.
